File
Menu
New
TimeTable
Open
TimeTable
Close
TimeTable
Restore
Data
Backup
Data
Delete
TimeTable
Save
As Web Page
Save
As Image
Save
As CSV
Print
Print
Preview
Print
Setup
Exit
Submenus
in the File menu are shown in Figure 1.1. Let us go through each submenu one by
one.

Fig
1.1 Submenus of File
New TimeTable
This can be used to create a new time table. The screen
shots of the creation process are as shown below (Fig 1.2 to 1.8).
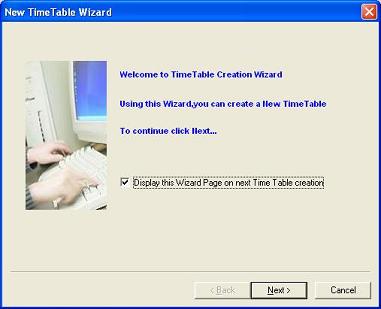
Fig 1.2 New TimeTable Wizard
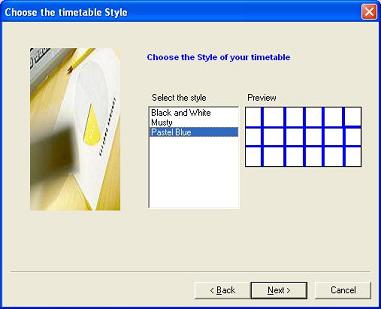
Fig 1.3 Choose TimeTable Style
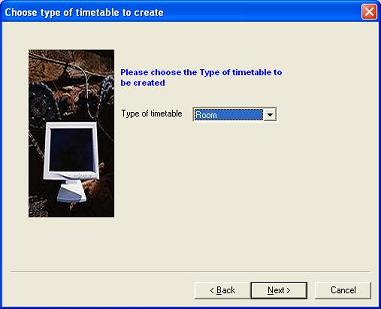
Fig 1.4 Choose TimeTable Type
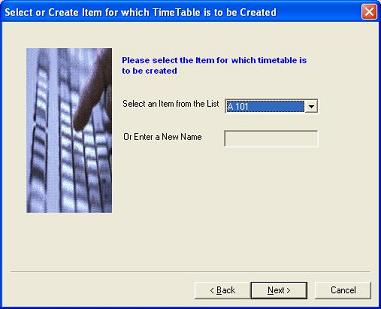
Fig 1.5 Select or create a TimeTable name

Fig 1.6 Choose Days of TimeTable
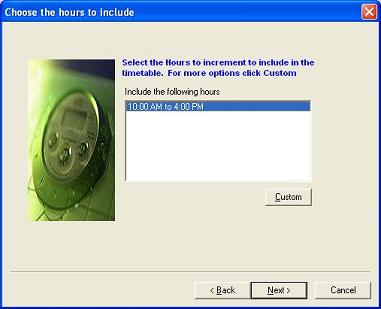
Fig 1.7 Choose Hours of TimeTable
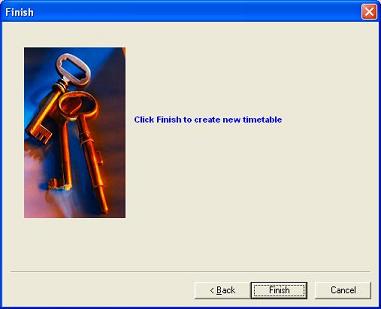
Fig 1.8 Click Finish to create TimeTable
Open TimeTable
With this menu, the user can select and open a
timetable.
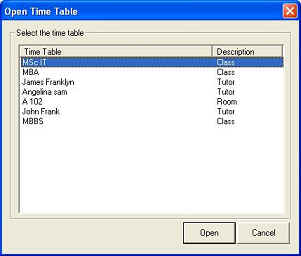
Fig 1.9 Open TimeTable Dialog
Close TimeTable
This menu allows the user
to close the currently active timetable.
Restore
Data
You
need not select database each time you start TimeTableMate program. After the
first installation, Database file in installed folder will open automatically.
If you want to open another database file like previously backed up database or
database file from another location, then you will have select it from another
location.
When the user clicks the Restore Data menu, a
dialog box will be provided as shown in Fig 1.10 to locate the database path.
After locating the database path, press Open. This will automatically load the
database and its settings.

Fig
1.10 Restore Database
Backup Data
This function backups the database to a specified
location. When user click the Backup Data menu, a dialog box will be displayed,
where you can specify the backup path as shown in Fig 1.11
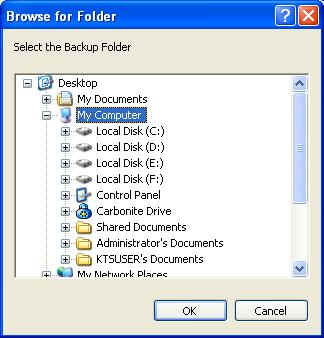
Fig 1.11 Backup Database
Delete TimeTable
This menu allows the user
to delete the currently active timetable.
Save As Web Page
Saves the file (time table) in HTML format (a Web Page),
so that it can be used in a Web browser, and sets other options such as the Web
page title and location where the file (time table) will be saved.
Save As Image
Saves the file (time table) in Bitmap format.
Save As CSV
Saves the file (time table) in CSV (Comma Separated Variable)
format. Files (time tables) saved in CSV file format can be opened by standard
spreadsheet programs like MS Excel.
This menu is used to print time table and
other reports in windows mode.

Fig
1.12 Print
Print Preview
To preview a document before printing. Please note that the
preview of document is only for Windows mode.
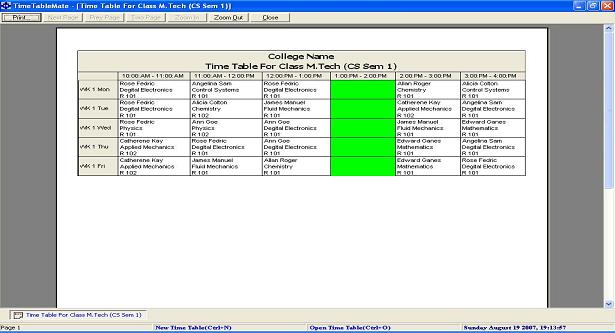
Fig
1.13 Print Preview
To set up the page before printing in Windows mode. Please
note that Print setup of document is only for Windows mode.
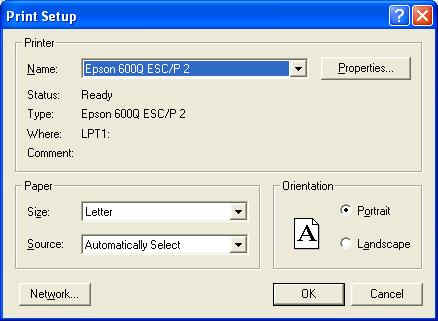
Fig
1.14 Print Setup
Exit
This menu item will exit the application. If the Auto backup
data base is enabled, it will prompt for Database backup and will backup to the
specified database if it is allowed to do so.