Tools Menu
Auto
Fill
Capacity
Reports
Manage
Tutors
Manage
Subjects
Manage
Class
Manage
Rooms
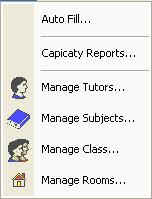
Fig 6.1 Submenus of Tools
This
menu is used to create the TimeTable automatically. When we click on the
AutoFill menu, the AutoFill wizard will be displayed. Clicking on the 'Next'
button will pop up the 'Choose the Subjects' dialog, where you can choose
subjects for that particular time table. Then follows 'Choose the Rooms in the
TimeTable' and 'Choose the Tutors' dialogs and finally 'AutoFill Finished'
dialog. You can finish the auto fill creation process by clicking the 'Finish'
button . Figures 6.2 to 6.7 depict the Auto Fill process.
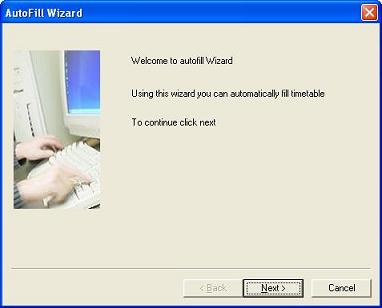
Fig
6.2 AutoFill Wizard
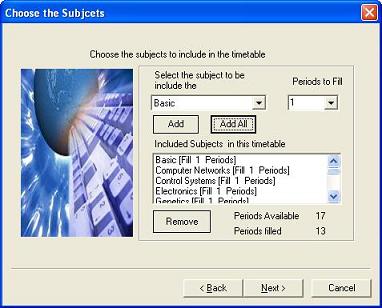
Fig
6.3 Select Wizard
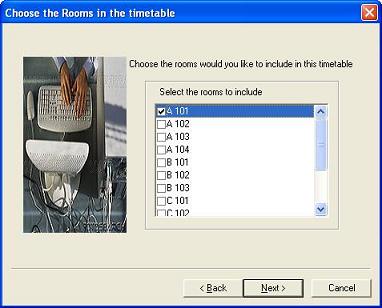
Fig
6.4 Select Rooms
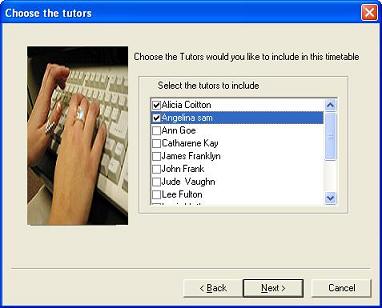
Fig
6.5 Select Tutors
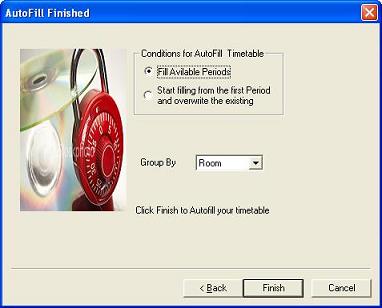
Fig
6,6 AutoFill Finish
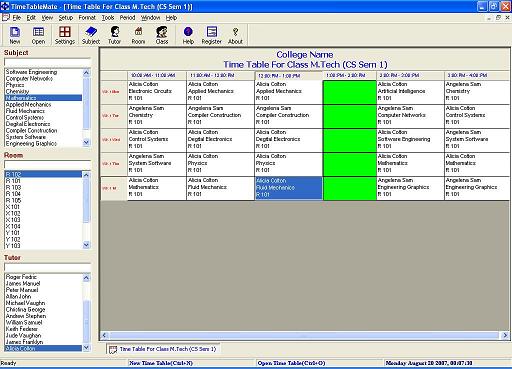
Fig
6.7 Fill TimeTable using AutoFill
Capacity
Reports
This menu shows the
capacity (the duration, a tutor teaches) report of each tutor in minutes.
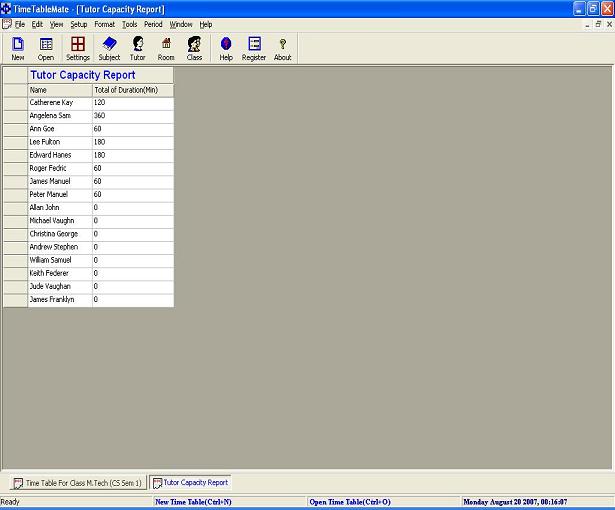
Fig 6.8 Capacity Reports
Manage Tutors
The menu item "Manage Tutors" is used to Add,
Edit and Delete tutors. You can add the name of the tutor and the subjects
taught by him using the Add Tutor dialog. Similarly, you can edit a tutor name
and the subjects taught by him using the 'Edit Tutor' dialog. You can delete a
tutor from the time table by selecting his name from the list box and just
clicking on the delete button.
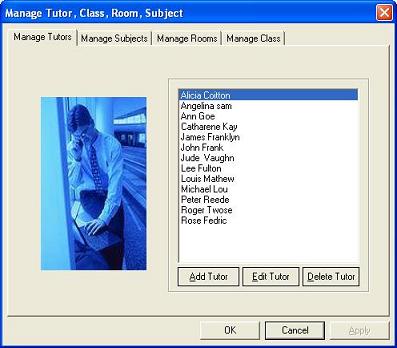
Fig 6.9 Manage Tutors
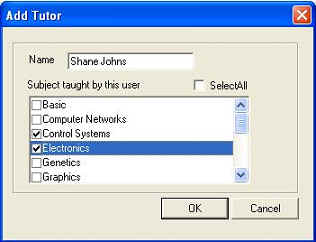
Fig 6.10 Add Tutor
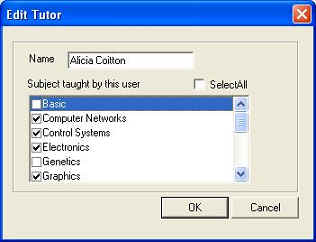
Fig 6.11 Edit Tutor
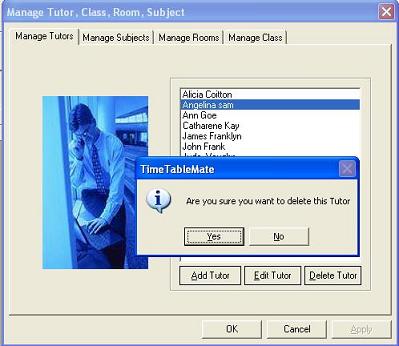
Fig 6.12 Delete Tutor
Manage
Subjects
The
menu item "Manage Subjects" is used to
Add, Edit and Delete subjects. You can add a new subject by using the Add
Subject dialog. Similarly, you can edit the already added subjects by using the
'Edit Subjects' dialog. You can delete a subject from the time table by
selecting that subject from the list box and just clicking on the delete button.
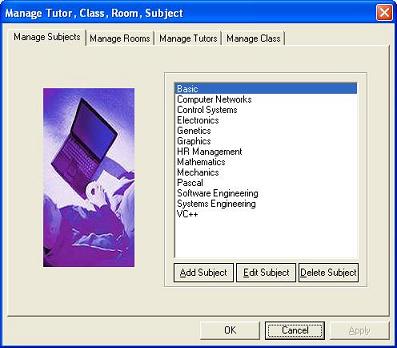
Fig
6.13 Manage Subjects
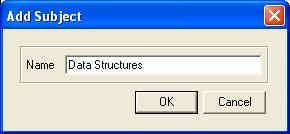
Fig
6.13 Add Subject

Fig
6.13 Edit Subject
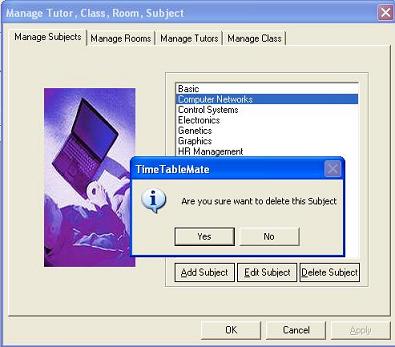
Fig
6.14 Delete Subjects
Manage
Class
The menu item
"Manage Class" is used to Add, Edit and
Delete class. You can add a new class by using the Add Class dialog. Similarly,
you can edit the already added class by using the 'Edit Class' dialog. You can
delete a Class from the time table by selecting that class from the list box and
just clicking on the delete button.
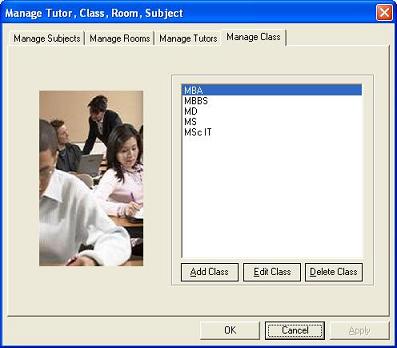
Fig
6.15 Manage Class
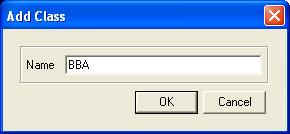
Fig
6.16 Add Class
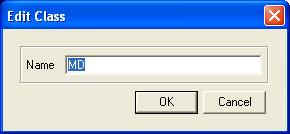
Fig
6.17 Edit Class
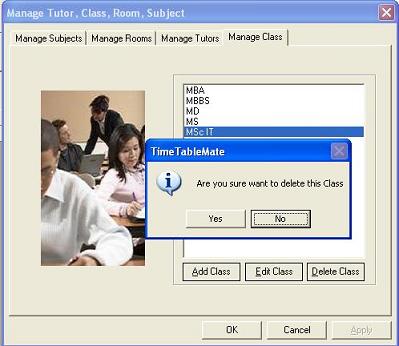
Fig
6.18 Delete Class
Manage
Rooms
The menu item
"Manage Rooms" is used to Add, Edit and
Delete room. You can add a new room by using the Add Room dialog. Similarly, you
can edit the already added room by using the 'Edit Room' dialog. You can delete
a room from the time table by selecting that room from the list box and just
clicking on the delete button.
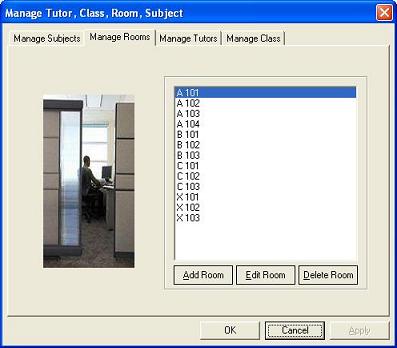
Fig
6.19 Manage Rooms
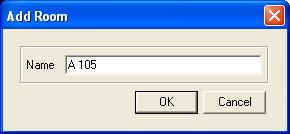
Fig
6.20 Add Room
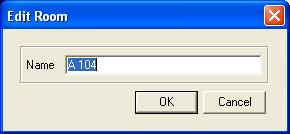
Fig
6.21Edit Room
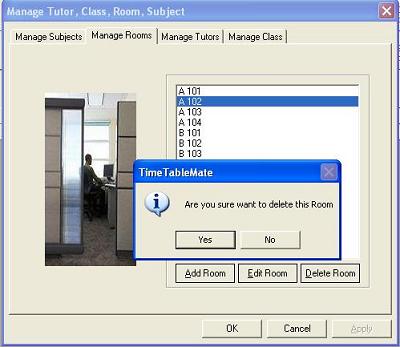
Fig
6.22 Delete Room